Showing posts with label ice cream. Show all posts

Sunday, November 30, 2014

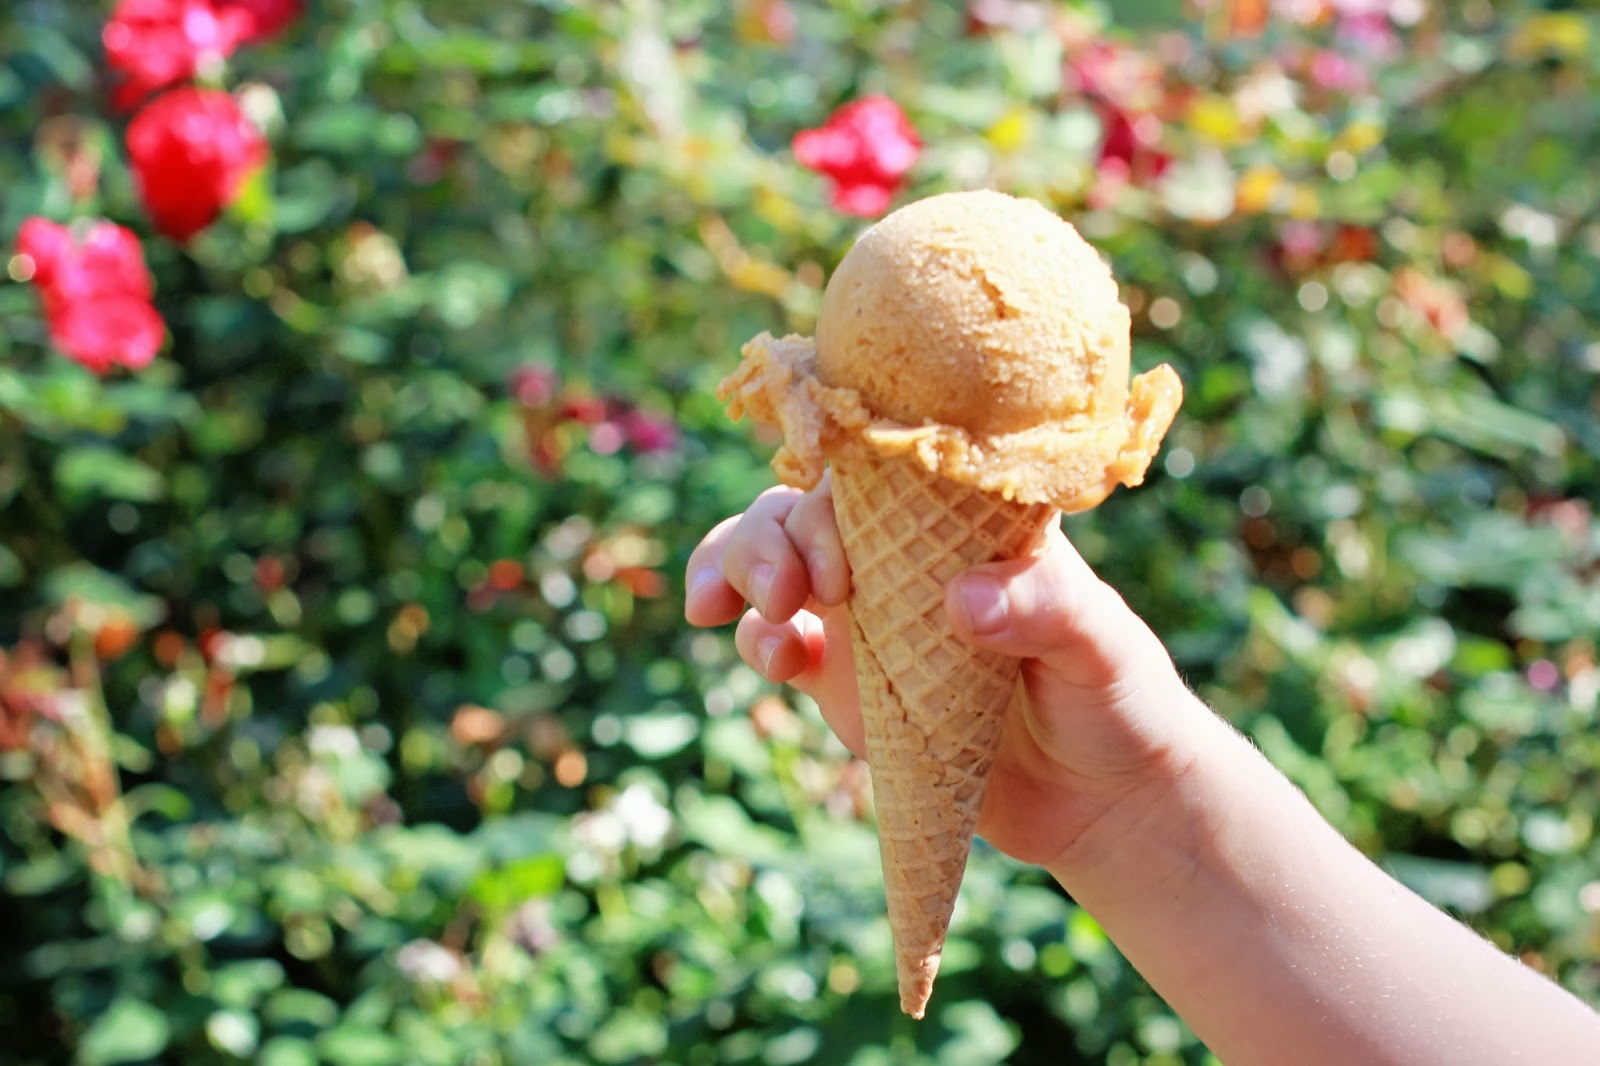
Machine Free Pumpkin Pie Ice Cream


We love ice cream but rarely make it.  Part of the problem is the frozen bowl our mixer uses.  I don't always keep it in the freezer.  I tend to make treats when the mood strikes and with the ingredients I have on hand.  Some of my favorite recipes and epic fails have resulted in this cooking style!

I had a Costco size heavy whipping cream to use.  You know why, I couldn't bare to go to another store the Wednesday before Thanksgiving toting three small children.  Didn't I see a method of ice cream that uses heavy whipping cream?  Yes thank you Kevin and Amanda's machine free method for making an ice cream base.  So I had half a pumpkin pie and all this whipping cream.  Umm problem solved I'll make ice cream!  The result is a decadent rich ice cream that was super easy to make.  On the plus side my mom is visiting and loved it too!

Machine Free Pumpkin Pie Ice Cream

Ingredients
2 cups heavy whipping cream, chilled
14 ounces sweetened condensed milk
1/3 - 1/2 pumpkin pie cut into pieces
1 teaspoon pumpkin pie spice
1/2 teaspoon vanilla extract

Recipe  

  1. Whip heavy whipping cream until stiff peaks form.  If you over whip (as long as no solid butter has formed) you can add a few teaspoons of heavy whipping cream and whip by hand.  The cream should be good again in a few seconds.  Try not to over whip again!  I do this all the time by the way.
  2. In a large bowl whisk condensed milk, spices and vanilla extract.  Gently mix in pumpkin pie pieces.
  3. Fold the whipped cream into the condensed milk mixture until no white streaks remain.
  4. Pour into 2 quart container and freeze for at least six hours or until firm.  We let ours warm up a bit before scooping.  Scoop and enjoy!
* Ice cream method is thanks to Kevin and Amanda

Thursday, September 26, 2013

Healthy Banana Pumpkin Ice Cream


I had eight very ripe, with tons of those little brown spots, bananas sitting on my counter.  It was only a matter of time before the pesky fruit flies appeared.  I hate those things, they seem to hide and one always pops up days later.  I wasn't in the mood for baked goods but had been craving pumpkin ice cream.  So we experimented and loved the result.  A healthy ice cream that the girls could have for breakfast if they wanted to!  I've seen many variations (nutella, peanut butter, maple walnut) of banana ice cream, and plan on trying some others next time I have an overripe bunch.

Ingredients

4-8 bananas, whatever you have that is nice and very ripe
1/2 - 1 1/4 cup of pureed pumpkin
cinnamon or pumpkin pie spice to taste

Recipe

  1. Slice your very ripe bananas into coins, lay out on a cookie sheet lined with waxed or parchment paper and freeze them for 1-2 hours.  Some people squeeze fresh lemon on them before freezing to preserve the color.  
  2. If you froze for longer than 2 hours you will want to allow the slices to warm up for 15 minutes.   Put 1/2 cup of pumpkin in blender then add half of your bananas.  Blend.  You will will have to stop and stir and mash a bit until the mixture gets moving.  Add more bananas as mixture gets going.  Do you not add liquid if you plan to freeze later, it will cause ice crystals.  Blend until smooth once all the bananas are added.
  3. Taste the ice-cream.  Do you want more pumpkin flavor?  Add more pumpkin.  Add your spices a little at a time now too.  Keep tasting until you get the flavor your family prefers.  The bananas will taste different depending on how ripe they are so you will likely make a different recipe each time.  Tasting is fun anyways!
  4. You can serve the ice cream soft serve now, we love it this way!  Or put into a freezer container with a lid and freeze for 2 or more hours.  Then you can pull out and scoop.  It scoops best if you let it warm up for 10-20 minutes first.

Saturday, March 3, 2012

Valentines Ice Cream Cake Pops


I am a huge believer in finding the joy in life.  Valentines Day is so much more fun now that we have children! We went all out this year and tried out this super cute cake pop recipe.  The girls got to make home-made valentines and treats for their neighborhood friends.  This recipe is less healthy and less homemade than the majority of our cooking but that's alright it's fun to have a special treat now and then ;-)  And everyone loved the pops so if you are looking for a cute birthday idea these are sure to please and can be decorated for any holiday or celebration

Recipe Modifications
  • I used a cookie scooper to scoop the cake balls.  They look just like mini ice-cream scoops
  • I found my balls too big to dip in the chocolate without falling apart.  So I dipped cone in chocolate, put the cake ball on and then used a spoon and poured over the balls.
  • I bought plastic wine glasses from the dollar store and used a beer six pack to transport the pops.  Worked perfectly!
Ingredients
1 9x13 cake mix (homemade or box)
1.5 to 2 cups cream cheese frosting 
Sugar cones
Chocolate candy melts (I used Wilton)
Sprinkles
Sweet Hearts candy
Serrated knife
Styrofoam
Lollipop sticks

Recipe
This recipe comes from cakepopsgalore