Thursday, September 26, 2013

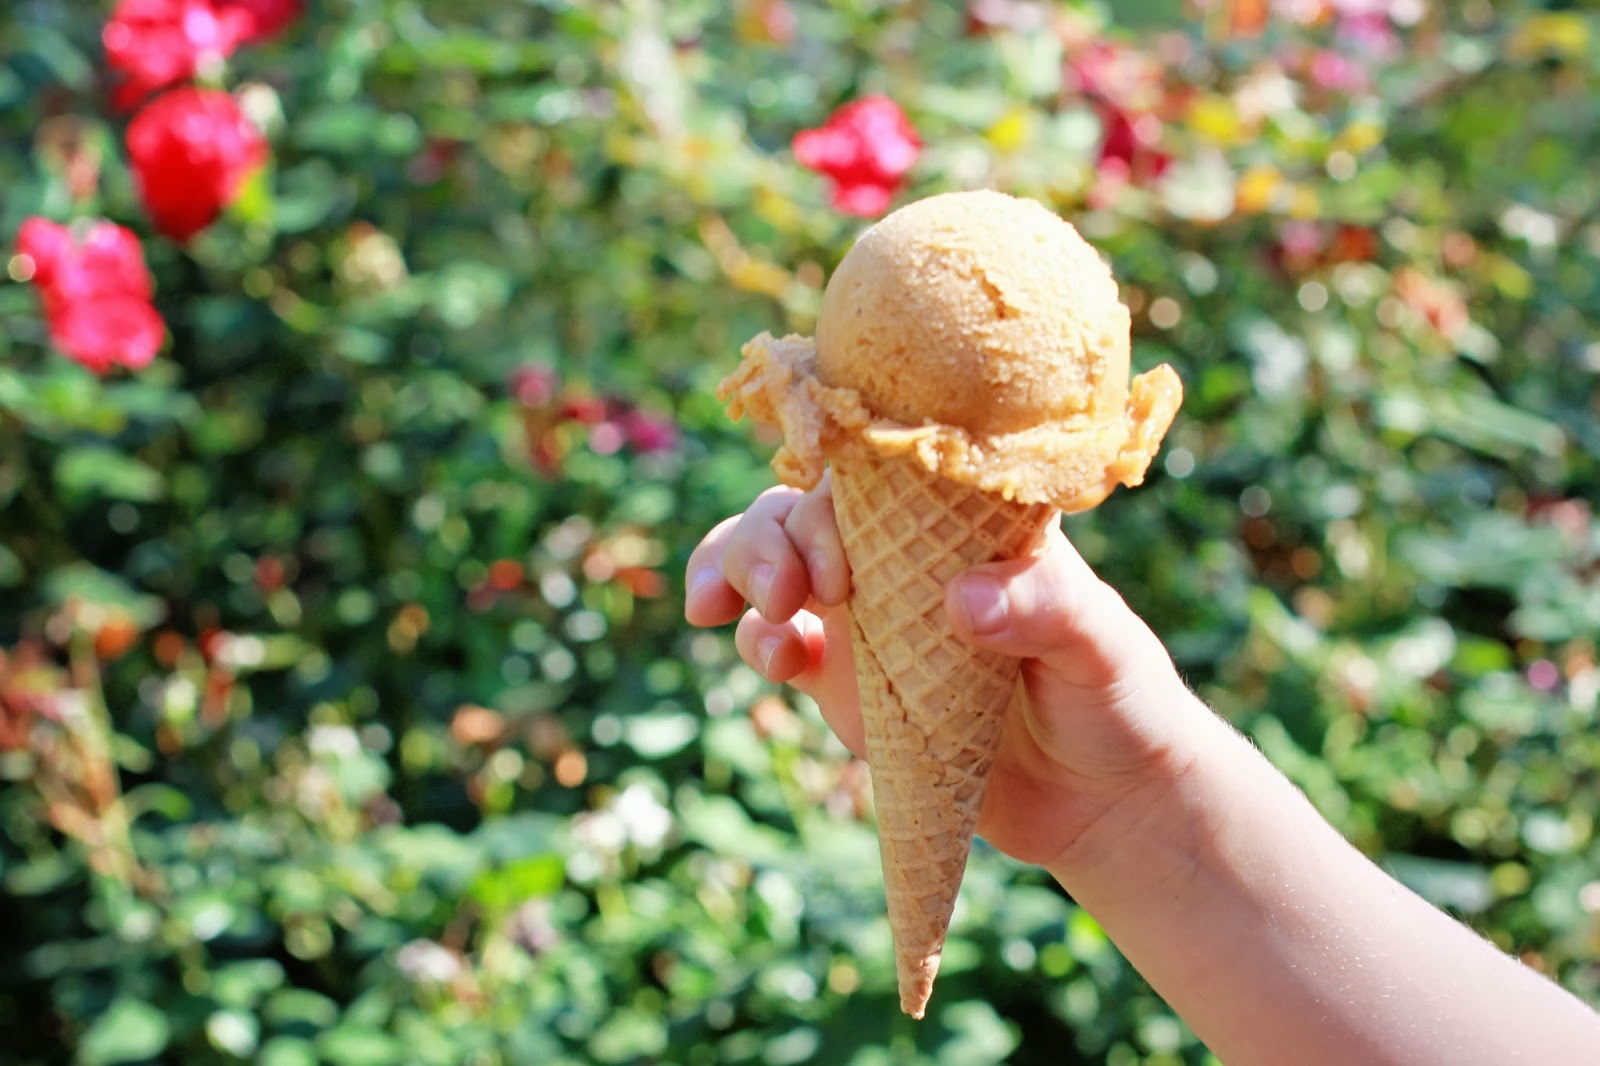
Healthy Banana Pumpkin Ice Cream


I had eight very ripe, with tons of those little brown spots, bananas sitting on my counter.  It was only a matter of time before the pesky fruit flies appeared.  I hate those things, they seem to hide and one always pops up days later.  I wasn't in the mood for baked goods but had been craving pumpkin ice cream.  So we experimented and loved the result.  A healthy ice cream that the girls could have for breakfast if they wanted to!  I've seen many variations (nutella, peanut butter, maple walnut) of banana ice cream, and plan on trying some others next time I have an overripe bunch.

Ingredients

4-8 bananas, whatever you have that is nice and very ripe
1/2 - 1 1/4 cup of pureed pumpkin
cinnamon or pumpkin pie spice to taste

Recipe

  1. Slice your very ripe bananas into coins, lay out on a cookie sheet lined with waxed or parchment paper and freeze them for 1-2 hours.  Some people squeeze fresh lemon on them before freezing to preserve the color.  
  2. If you froze for longer than 2 hours you will want to allow the slices to warm up for 15 minutes.   Put 1/2 cup of pumpkin in blender then add half of your bananas.  Blend.  You will will have to stop and stir and mash a bit until the mixture gets moving.  Add more bananas as mixture gets going.  Do you not add liquid if you plan to freeze later, it will cause ice crystals.  Blend until smooth once all the bananas are added.
  3. Taste the ice-cream.  Do you want more pumpkin flavor?  Add more pumpkin.  Add your spices a little at a time now too.  Keep tasting until you get the flavor your family prefers.  The bananas will taste different depending on how ripe they are so you will likely make a different recipe each time.  Tasting is fun anyways!
  4. You can serve the ice cream soft serve now, we love it this way!  Or put into a freezer container with a lid and freeze for 2 or more hours.  Then you can pull out and scoop.  It scoops best if you let it warm up for 10-20 minutes first.

Friday, September 20, 2013

Easy Slow Cooker Apple Sauce


If I am not moving in a whirlwind of activity during the daytime, I think I'd actually lose my balance. Since breakfast needed to cook 20 minutes with no help from me I had to occupy myself.  Surplus or orchard apples and a slow cooker, criss cross applesauce!  It's so simple and makes a great healthy snack or addition to a packed lunch.  The scent is amazing.  I've noticed in the past few weeks our neighborhood has had new homes go up for sale.  If I had an open house this time of year, forget baked cookie smell, I'd cook up some applesauce in my slow cooker and leave a big bowl of local apples to sample.  No applesauce to share though, that's all for the owners who have to work at a spotless house!

Ingredients

8-10 apples
1 tsp cinnamon
2 tsp honey
1/2 cup water
brown sugar or maple syrup to taste (optional)

Directions


  1. Peel apples.  I usually cut them in four around the core then half those pieces.
  2. Combine all ingredients, expect optional sugar, in slow cooker and mix together.
  3. Cook on low for 6 hours.
  4. Mash apples with potato masher for a homey chunky sauce or use immersion blender or mixer for smoother sauce.  
  5. Taste the sauce.  If you want it sweeter add a tablespoon of brown sugar or maple syrup at a time until it suits your taste.  If you want more cinnamon add it now.
  6. Sauce keeps for 3 weeks in the fridge.  You can also jar in for longer storage.  Serve warm or chill for later, yummy both ways.  Enjoy!

Wednesday, September 11, 2013

Sun Dried Tomato and Spinach Frittata


We are having a sudden heat wave here in Ohio.  You know the kind that prompts you to desperately run out looking for a kids swimming pool big enough for you to fit in!  Michael is not overly fond of breakfast for dinner but I found an exception, frittata.  You can make so many variations of frittatas and they come out amazing.  We had fresh spinach, sun dried tomato sausage, parmesan cheese and eggs, the makings of an tasty frittata that had my girls asking for seconds and thirds.  These are also great ways to sneak in veggies or meat for a picky eater.  They are easy to make, clean up and won't heat up your house on a hot day.  Perfect for a September heat wave or anytime!

Ingredients

1 cup pasteurized egg product (like real eggs from Costco)
4 eggs
1/2 cup parmesan cheese shredded and some more to sprinkle on top
pepper (to taste)
1 tsp olive oil
2-3 links pre-cooked sun dried tomato sausage chopped (we like aidells or another nitrate free brand)
2 cups baby spinach (packed)

Recipe

  1. In a large bowl combine egg product, eggs, cheese and pepper.  Whisk until yolks are completely incorporated.  If you use a 10 or 12 inch pan to cook you can add 2-4 more eggs.
  2. Chop sausage.  Chop spinach.  You can removed the large stems you see, some people don't like the texture with the stems.
  3. Heat oil in pan over medium.  Add sausage and cook for a few minutes.  Add spinach and cook until just wilted.  Change heat to low.
  4. On low heat add the egg mixture.  Stir everything together and make sure meat and spinach is evenly distributed in the pan.
  5. If using double frittata pan.  Cover with second pan and cook on low for 10 minutes.  Sprinkle with parmesan cheese then cover again with the second pan.  Using oven mits flip the pans.  Cook on low for another 10 minutes.  
  6. Using oven mits flip back over and slip frittata onto a plate.  Slice and serve, enjoy!
  7. If using oven-proof pan.  Preheat oven to 350 degrees F.  Cook on low until the eggs on the bottom and edges are set for about 10-15 minutes.  Place in oven and cook 7-8 minutes or until eggs are cooked.
  8. Using oven mits removed pan and slide onto a plate.  Slice and serve, enjoy!  
  9. If using non oven-proof pan.  Cover and cook on low until the eggs are set for about 15-20 minutes.  Using oven mits slide onto a place.  Slice and serve, enjoy!

Friday, September 6, 2013

Feels Like Fall Flourless Apple Crisp


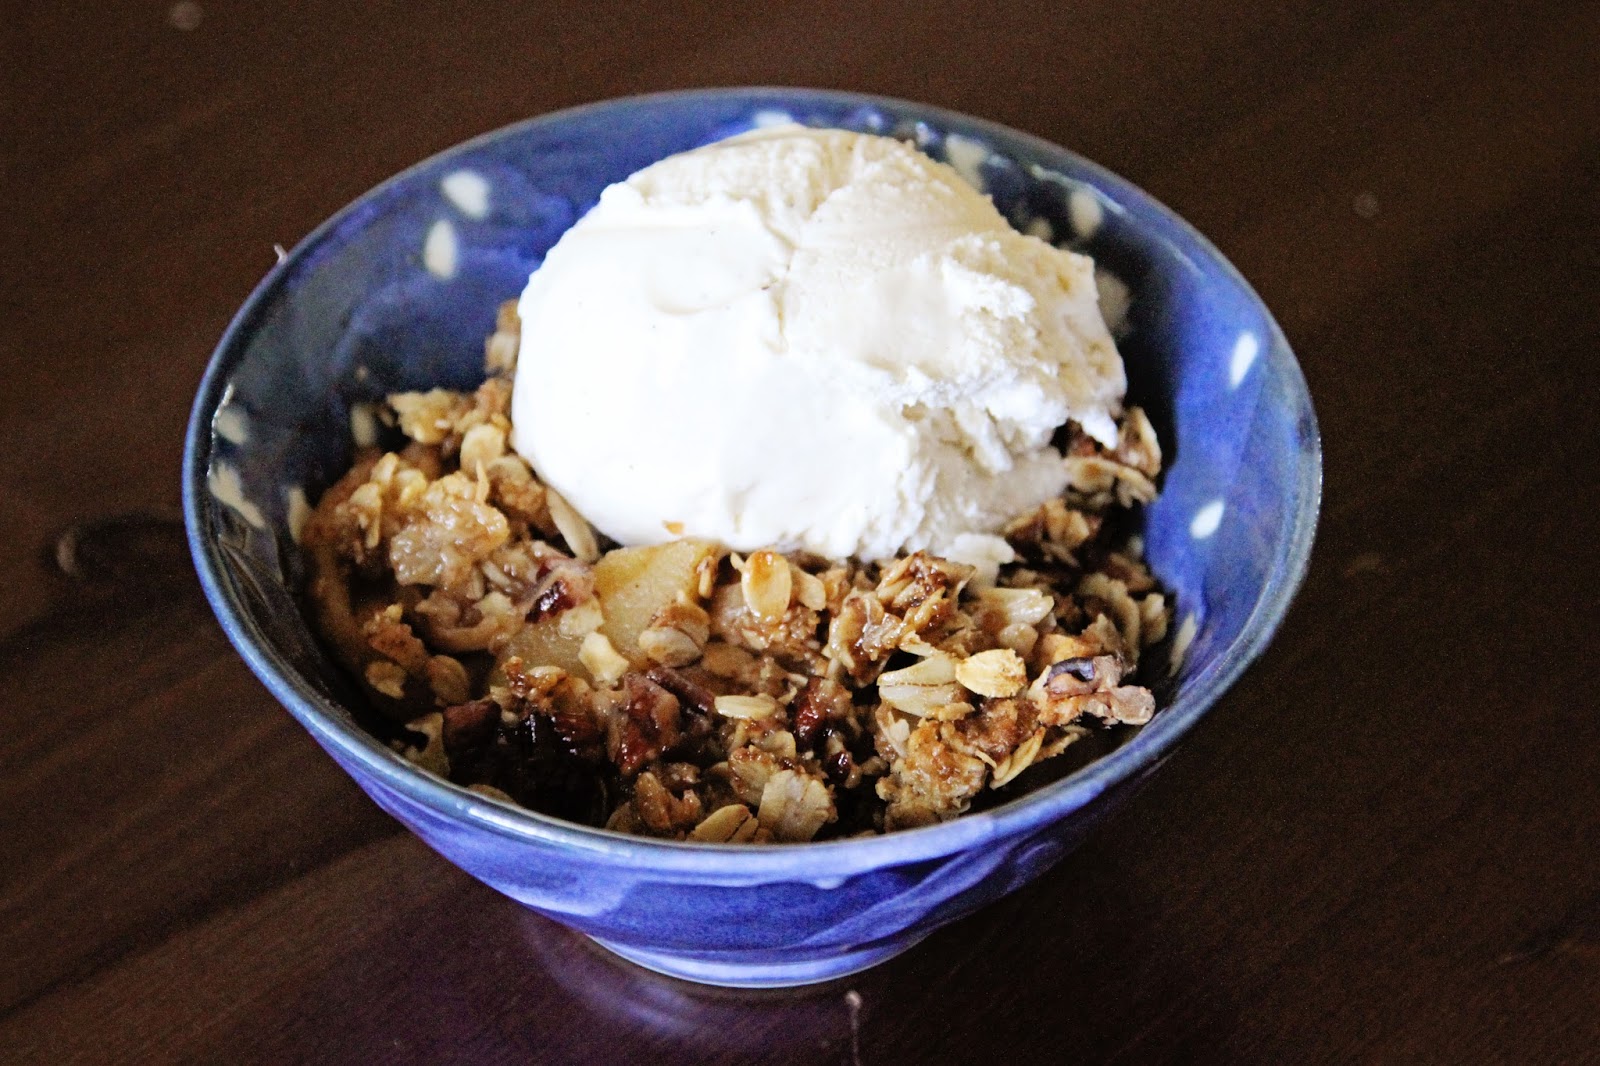
Tonight our family will be enjoying the sunshine and pool.  They kept it open an extra weekend after labor day, hip hip hooray!  But this morning was chilly and our local orchard has beautiful fresh apples out, so fall is on my mind.  What better bridge from summer to fall than apple crisp with sweet vanilla bean ice cream.  If you are like me you've made this many times.  Most of the recipes I see online have so many ingredients and way more sugar and topping than my fresh apples need.  So it was time to get cooking on my own.  The result was so good, I just might have to make it again next week.

This school year I am going to try to create a new recipe each week.  Looking to balance taste and health.  I'll spare anyone out there reading my recipe failures, but will share the ones we like.  And at the end of the school year I'll have some nice additions to my online recipe holder.  Enjoy the summer to fall bridge weeks!

Ingredients

6-8 medium apples sliced (use the ones marked good for pie or baking)
1/4 cup pure maple syrup
1 tsp cinnamon
1 1/2 cup oatmeal
1/2 cup brown sugar
1/4 cup butter chilled cut into small pieces
1/2 cup walnuts or pecans coarsely chopped

Directions

  1. Preheat Oven to 375 degrees F.  Lightly butter or oil an 8 inch baking dish or large pie dish.
  2. In a large bowl combine sliced apples, maple syrup and cinnamon.  Pour mixture into baking dish.  You will want enough apple sliced to fill the dish but not overflowing, you still need to add crumb topping.
  3. In a medium bowl combine the remaining ingredients (except nuts) using a pastry blender or two knifes until crumbly.  Keep blending until crumbly or you'll have loose ingredients that won't bake as well.
  4. Sprinkle crumble on top of baking dish.  Depending on the dish you may have more than you need.  In that case feel free to eat it!
  5. Bake for 45 minutes and serve warm.  Vanilla ice cream is a wonderful accompaniment.  Enjoy!


Wednesday, September 4, 2013

Banana Oat Whole Wheat Waffles


Labor Day weekend has come and gone.  When I was in school this marked the end of summer, the time to catch those last bits of sunshine before the school year began.  Now living in Ohio our children are already in school two weeks before Labor Day.  But it's still feels like the last bit of summer before school starts.  Our neighborhood pool closes on Labor Day so there is always a crowd of swimmers, the last jumps off the diving board, last ice creams at the pool, last lazy dinner while the kids splash around.  And for us it also means we just spent an amazing weekend in northern Michigan at my in-laws cottage.

Now back to food.  What does this have to do with waffles?   Oops I left a bunch of bananas out and they got very ripe while we were away.  So I created this recipe using my favorite combo of whole wheat/ground oatmeal/flour.  I like to top waffles with cinnamon, sugar, more bananas and toasted pecans.


Ingredients

Dry
1 cup oatmeal
1 cup all purpose flour
1/2 cup whole wheat flour
2 tsp baking powder
2 tsp cinnamon
1/4 tsp salt
Wet
2 tbsp brown sugar
3 tbsp. melted butter
2 eggs or 1/2 cup pasteurized egg product
2 large ripe bananas
1 tsp vanilla
1 cup milk

Recipe

  1. Blend oatmeal in a blender for a minute or two.  I actually shake mine around to get it all blended.
  2. Put blended oatmeal and all dry ingredients in a large bowl.  Whisk ingredients until combined.
  3. Place wet ingredients in blender.  Blend until combined.
  4. Pour wet ingredients into dry ingredients.  Mix just until combined, batter will have some lumps.  Try not to over mix.
  5. Cook according to your waffle makers instructions.  Enjoy! 

Wednesday, February 6, 2013

Almond Flour Banana Muffins

 
Looking for some tasty snacks that don't pack a huge sugar rush?  My good friend recommended that we try almond meal. These muffins were yummy, just sweet enough with a little salt taste and filling.  The girls could eat them in the evening and we didn't have to worry about a huge running frenzy afterward!  They also made a great breakfast along with some fruit.  You can taste the butter used in the batter so there is no need to add any.  I may even try to half or omit the butter next time.  Enjoy!

Ingredients
3 cups blanched almond flour or almond meal
1 tsp baking soda
1/4 tsp sea salt
1/2 tsp baking powder
1 tsp cinnamon
3  eggs or pasteurized egg product
2 large or 3 medium very ripe bananas, mashed
1/3 cup honey or maple syrup, use less if the bananas are very ripe and sweet
1/4 c up melted butter
1 tsp vanilla extract
1/4 c up or so chopped pecans

Recipe
  1. Preheat oven to 350 degrees. Grease or line a cupcake pan with wrappers.
  2. In large bowl whisk almond flour, baking soda, salt, baking powder and cinnamon together
  3. In medium bowl mix eggs, bananas, honey, butter and vanilla together until combined.
  4. Add wet ingredients to dry ingredients and mix just until combined.  Do not overmix.
  5. Fill muffin cups and top with chopped nuts.  Bake 20 minutes for muffins and 12-15 minutes for mini muffins.  Or until toothpick inserted in the center comes out clean.
  6. Cool for one minute in the pan then remove to wire rack to finish cooling.

Recipe inspired by 
This recipe inspired by justapinch.com
Click Here for Recipe

This recipe inspired by nuts.com

Monday, November 12, 2012

Dark Chocolate Lava Cakes


I have always preferred half baked cookies and french toast.  You know the type of things crunchy on the outside and melty, doughy on the inside.  So it came as no surprise years ago that I loved the first Lava Cake that I tried.  Dark intense chocolate cake with decadent melted chocolate spilling out when you slice it.  And it's served warm with a dallop of fresh whipped cream.  I never attempted to make one until this recipe because I thought they would be too difficult or time consuming.  Was I wrong!  My girls did all the stirring and dropping in of ingredients.  These are simple to make and so good.  We made ours milk free except for the optional whipped cream and loose no flavor, it's amazing.  Make them for a dinner party or holiday and you'll be sure to impress!
    Ingredients

    4 pieces (squares) Semi-sweet Baking Chocolate or 1 bag of semi-sweet chips minus a few you eat!
    ½ cups Butter or 1/2 cups fleischmann's unsalted margarine (dairy-free)
    1 cup Powdered Sugar
    2 whole Eggs or 1/2 cup pasteurized egg product
    2 whole Egg Yolks
    6 Tablespoons Flour
    Optional Whipped Topping
    2 cups Real Whipping Cream (seriously It's So Much Better!)
    2 Tablespoons Sugar

    Recipe
    1. Preheat oven to 425 degrees.  Spray 4-6 ramekins with oil and place on cookie sheet.
    2. Combine butter and chocolate in microwave safe dish.  Microwave on 50% power for 1 minute.  Stir thoroughly.  Then microwave 30 seconds more and stir.  Repeat until the chocolate in completely melted.
    3. Whisk chocolate mixture and sugar until well combined.  Whisk in eggs, then flour.
    4. Fill ramkins and back for 12-18 minutes depending on size of ramekins and oven.  All sides should be firm and just the very center soft.  
    5. Remove from oven and let cool 1 minute.  Place a plate on top of the ramekin, and flip upside down so the cake is on the plate.  This will help the inside of the cake stay put until you slice it open.
    6. Top with powered sugar and whipped cream if desired.  Combine heavy whipping cream and sugar and whip until stiff 
    Original Recipe
    Tweaked the original recipe as you will see in ingredients list, chocolate melting method and removal of cakes from ramekins.  This can be made milk free by using milk free chocolate, milk free margarine and skipping the whipped topping.  Here is the original recipe